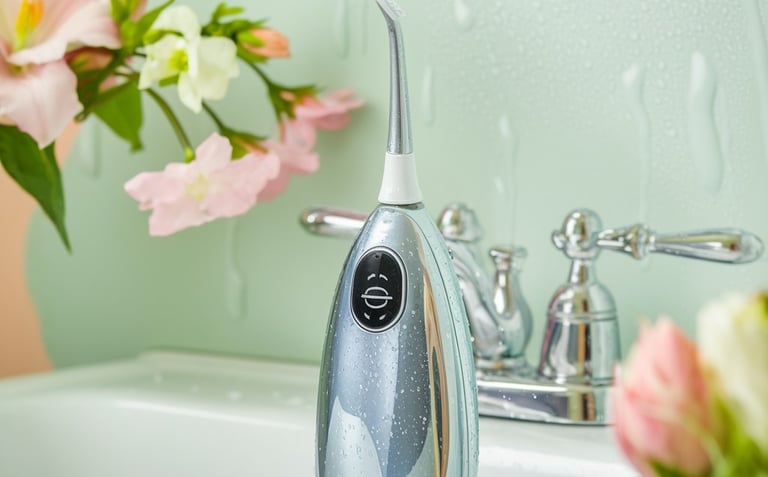
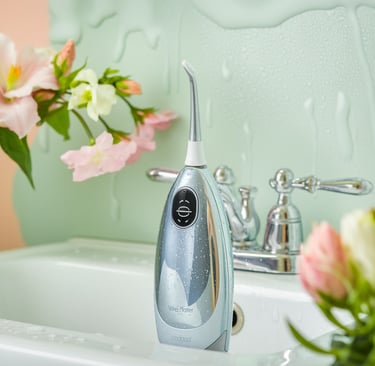
Fresh Start for Your Oral Hygiene: How to Clean Your Water Flosser
Fresh Start for Your Oral Hygiene: How to Clean Your Water Flosser Your water flosser works hard to keep your teeth and gums in top shape, but how often do you show it some love in return? Keeping it clean not only ensures its longevity but also keeps your oral hygiene routine truly effective. Here's a simple guide to deep clean your water flosser and say goodbye to lingering buildup!
3/23/20252 min read
Why Cleaning Your Water Flosser Matters
Over time, minerals from water and residue from mouthwash can accumulate in your water flosser, reducing its performance. A clean water flosser ensures that every spray is as powerful and hygienic as it should be. Plus, it helps prevent bacterial growth—essential for a healthy smile.
Step-by-Step Guide to Cleaning Your Water Flosser
Empty the Reservoir
After every use, empty the reservoir to prevent water from stagnating. Rinse it thoroughly with warm water to remove any remaining debris.Disassemble the Parts
Detach the reservoir, tip, and any other removable components. This will make it easier to clean each part individually.Clean the Reservoir
Fill the reservoir with a mixture of warm water and a few drops of dish soap. Use a soft sponge or brush to gently scrub the interior. Rinse thoroughly to remove all soap.Tackle Mineral Deposits
If you notice white or chalky buildup, it's time for a vinegar cleanse. Mix equal parts white vinegar and warm water, and fill the reservoir with this solution. Run the flosser for about 30 seconds to let the solution flow through the system, then let it sit for 5-10 minutes. Rinse with clean water by running water through the system until thoroughly rinsed.Clean the Tip
Soak the tip in a cup of warm water mixed with a splash of vinegar or hydrogen peroxide for about 5 minutes. Rinse well before reattaching.Wipe Down the Exterior
Use a damp cloth to clean the outer surfaces of your water flosser. Avoid submerging the base or electrical parts in water.Reassemble and Test
Once all parts are clean and dry, reassemble your water flosser. Run clean water through the system to ensure everything is working properly.
Bonus Tips for Maintenance
Clean your water flosser at least once a month for optimal performance.
Using filtered or distilled water minimizes mineral buildup.
Replace the tip every 3-6 months for maximum effectiveness.
A clean water flosser is a happy water flosser—and your teeth will thank you for it! Regular maintenance might seem like a small task, but it makes a big difference in your oral health. Ready to give your trusty device the care it deserves? It's time to make your next flossing session feel brand new.
SWhite, RDH
Disclaimer: Consult your devices manual for instructions that the manufacturer advises. The information provided is ideal for most water flosser units. This blog does not provide personal professional advice. Consult a healthcare professional for guidance.
I am an Amazon Affiliate and receive commissions at no additional costs to you if purchases are made from my website. You can shop at https://www.amazon.com/shop/mae_mae_w
I am an Amazon Affiliate and receive commissions on purchases made through my website at not additional cost to you.
Health
Expert insights on oral health and wellness.
Disclaimer-see your oral health care professional for personal advice
Amazon Affiliate-I receive commision from items purchased from my site at no additional costs to you
Choose Hostinger https://hostinger.com?REFERRALCODE=6CSMAEMAECHX
swhite@mouthmotivator.com
© 2025. All rights reserved.